Let’s Do It Yourself
DIY・ハンドメイドのアイデア共有!!
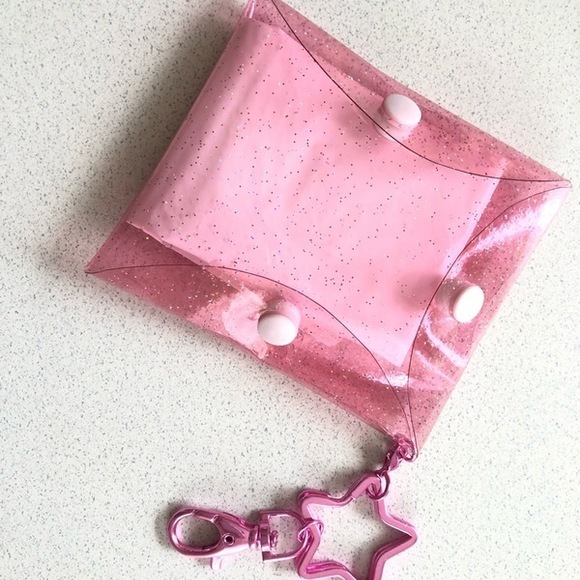
キラキラ!プチケース
| カテゴリー: | ハンドメイド/リメイク/雑貨 |
|---|---|
| 制 作 費 用: | ¥ |
| 完成サイズ: | W×D×H(mm) |
バックの中でぐちゃぐちゃになりがちなイヤフォンや
鍵、レジ袋などなどスッキリ収納できるポーチ。
シースルーだからどこにあるかすぐわかるのが嬉しい♪

- step1

セリアのビニールシート
- step2

思ったよりちょっと薄いかな・・・。
ま、いっか( ´ ▽ ` )ノ
- step3

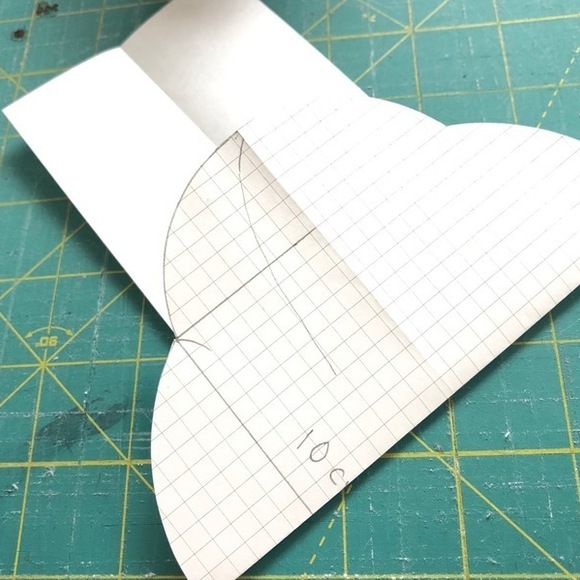
紙を1枚用意してね☆
- step4

縦に半分に折るよ☆
- step5

設計図
縦は23cm
横幅は8cm
- step6

この矢印の部分に曲線を描いていくよ☆
- step7

おわんなどが便利です☆
- step8

カッターもしくはハサミで線の通り切り取ります
- step9

広げます〜☆
- step10
こんな風に折ります。
- step11

この横の部分の角を合わせて追っているのです。
- step12

角と角を曲線でつなぎます。
さっきのおわんが小さかったのでもうちょっと大きめのおわんを使用。
- step13

おわんに沿ってカッターで切ると綺麗に切れます
- step14

型紙ができました〜!!
- step15

両面テープを転々とはります。
はがすのが大変なのですこしだけ。
- step16

ビニールシートの上に乗せて固定してカッターもしくはハサミでカット。
- step17

こんな感じに切れています。
- step18

はがす前に端から1.5cmくらいで半分に折った折り目の所にめうちで穴を開けます。
- step19

これを使いました。
手芸屋さんで300円ほど。
- step20
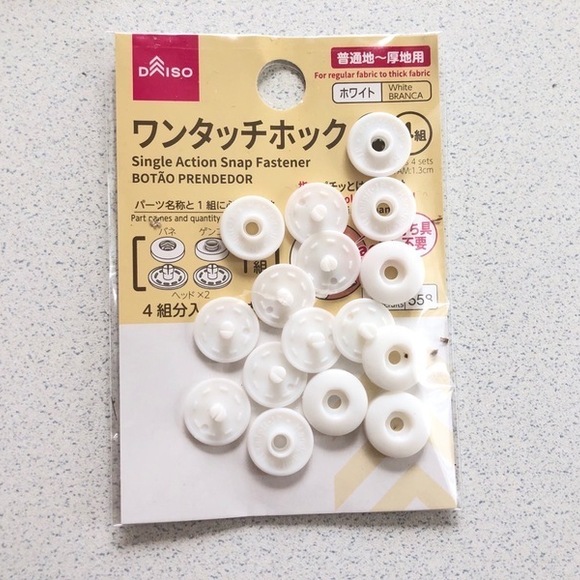
ダイソーにあったやつは大きすぎて
薄いシートに合わなかったので残念・・・。
- step21

1ペアこの4つを使います。
- step22

全部でこれだけ必要です。
- step23

さっきめうちで穴を開けた所にこの部品を刺していくよ☆
- step24

ブスッとね。
こっち側からめうちを指すと部品が刺しやすい☆
- step25

裏返すとこんな風になるよ。
右側にある部品をのせて・・・
- step26

こんな感じになったら抑えてカチッと音がするまで押して〜!
- step27
難しければ裏に返してこのボタンを親指で下にグッと押すとカチッとはまるよ☆
- step28

噛み合わさる部分にも穴をあけるよ。
型紙をこの用意合わせて穴の位置を確認。
- step29

さっきとは反対の方向から最初に差し込んだ部品を刺します。
- step30

裏返してこの部品をカッチっと入れ込みます。
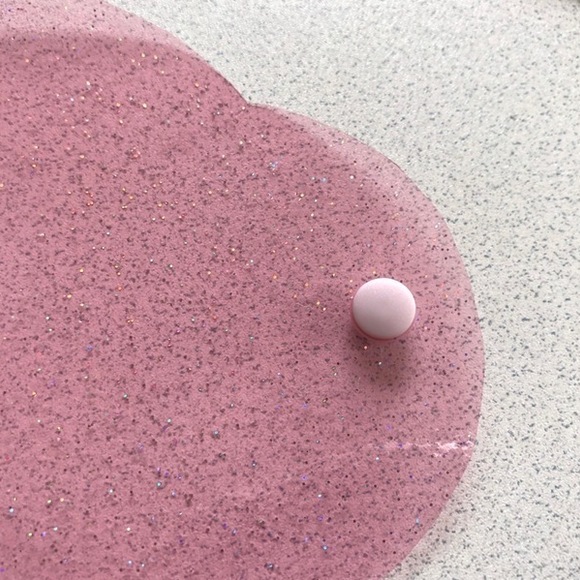
- step31

ボタンをつけてみた所☆
あともう少し〜
- step32

残りの2箇所も同じように部品を差し込み
- step33

同じ工程を繰り返します。
- step34

噛み合わせのとこもこうやって穴の位置を確認して穴をあけるよ。
- step35

こんな感じになってきたかな?
- step36

ボタンをつけてみよう☆
- step37
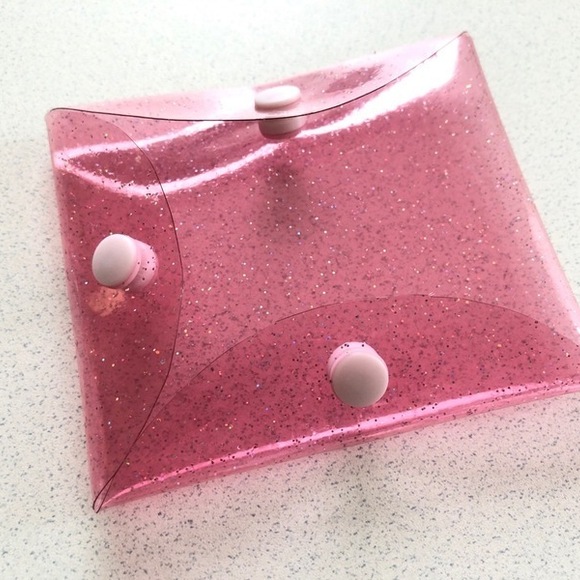
完成!
- step38

3方向から取り出し可能♪
- step39

お好みでキーホルダーをつけても☆
ダイソーのキーホルダー
- step40

輪っかが2つ付いてるので1個外して
フック状の所にに通して
- step41

ポーチに穴を開けて輪っかを入れ、輪っかの穴を閉じます。
- step42

できました!
- step43

イヤフォンなど収納が便利
- step44
レジ袋も綺麗にスッキリおさまります。