Let’s Do It Yourself
DIY・ハンドメイドのアイデア共有!!

- step1

作業前の庭。
あらかじめ物置きを設置するスペースを決めておきます。
- step2

既存の花壇やレンガ敷きを撤去し、整地します。
- step3

物置きの設置予定場所にセメントを敷きます。
- step4
市販の物置きを組み立てます。
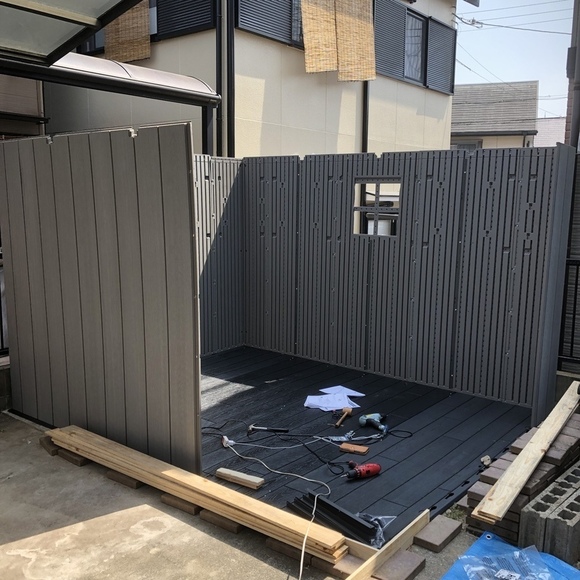
- step5
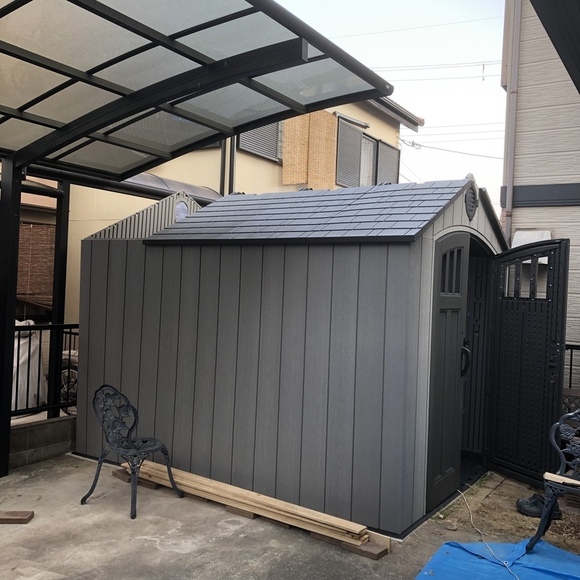
物置きの組み立て完了です。
- step6

物置きの内側。
- step7

SPF材で壁の骨組みを作製します。
この時、物置きの窓に合わせて柱の間隔を決めます。
- step8
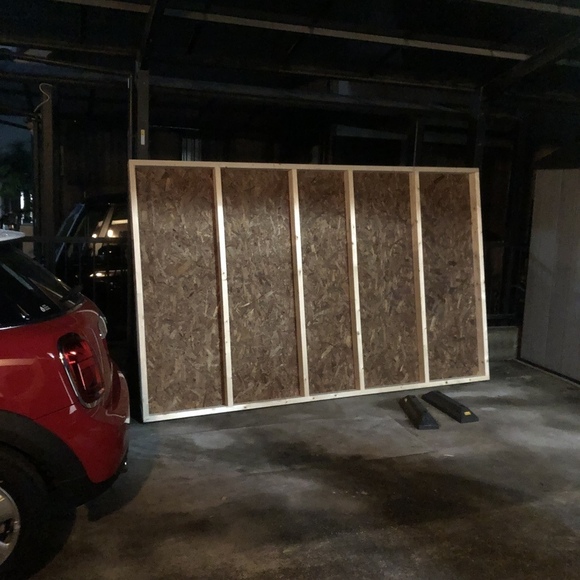
OSB合板を貼り付けて、壁を作製します。
- step9
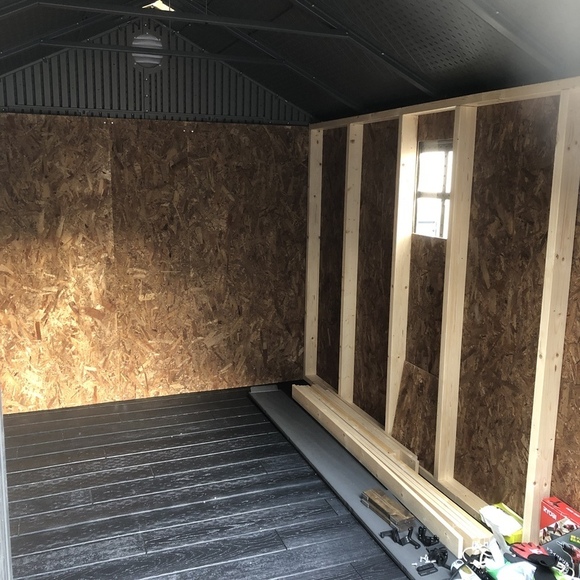
壁を設置します。
設置前に窓部に重なる部分のOSB合板は予めカットしておきます。
- step10

床を施工します。
根太を敷き、間に断熱材を入れます。
- step11

12㎜のコンパネを全体に敷きます。
- step12

ワトコオイルを塗装した杉の床板を貼っていきます。
- step13
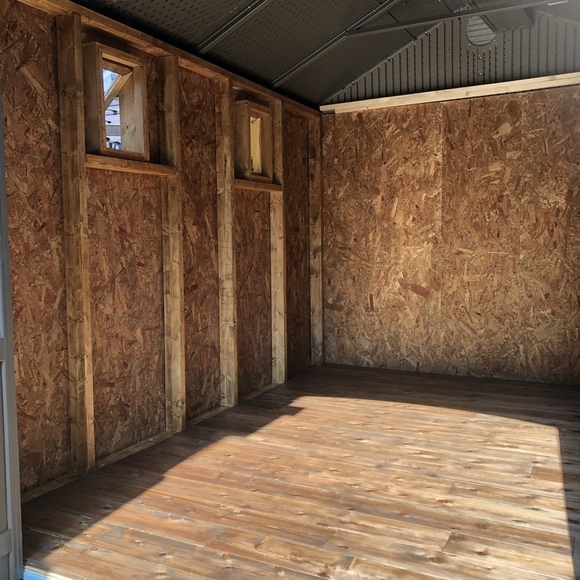
床貼りが完成です。